To create up online course in Kajabi, navigated to Products > Courses, hit on “Get Started,” and input the course title and description, let in AI generate the draft outline if desired. Structure the content with Modules (chapters) and Lessons (videos, text, downloads), add on media and resources within every lesson. Customize branding, set pricing via Offers, and published modules/lessons to making them live, then preview the course for students.
Table of Contents
Step 1: Set Up the Course Basics
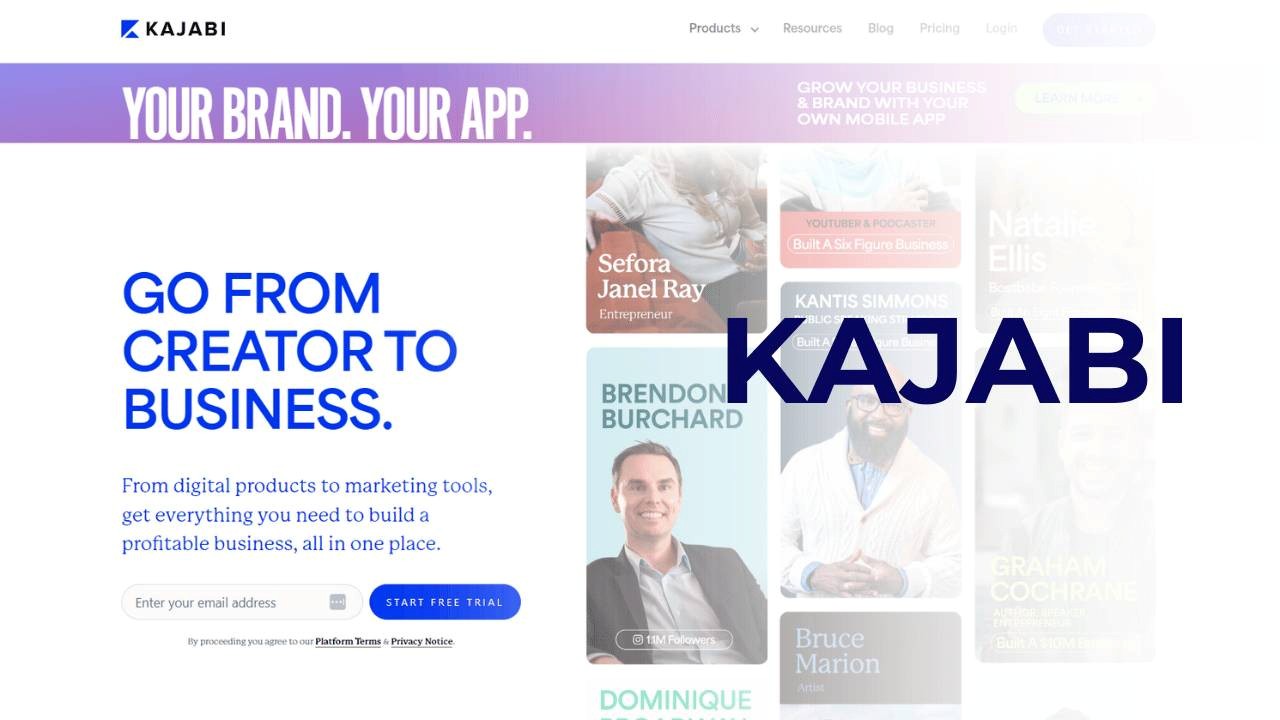
- Navigate to Products: From the Kajabi dashboard, go to the “Products” tab and hit on “Courses”.
- Begin a New Course: Click “Get on Started” or “New course”.
- Enter Details: Add on the course title and a small description. You could enabled the AI to generating a sample outline, or turn it off.
- Branding & Pricing: Select primary/accent colors, uploading the thumbnail, and set up the pricing (free, paid, subscription, payment plan) with payment processors such as Stripe/PayPal.
Step 2: Build up Your Course Content (Outline)
- Structure with Modules: Usage the “Outline” section to creating major categories (Modules) for the course.
- Add Lessons: Under every module, add on individual lessons (e.g., audio training, text, video).
- Upload Content: Add on the video/audio files, text, and downloadable resources (PDFs) to lessons.
- Customize Each Lesson: Add on the lesson thumbnails, descriptions, and enabling comments if required.
Step 3: Customized & Published
- Preview: Usage the preview function to check out your course as the student would.
- Publish Content: Encertains you published both individual lessons and complete modules to making them visible.
- Set Automations: Usage automations (e.g., send the email after a lesson) for the more interactive experience.
- Create Offers: Go to the “Offers” section to create the actual product people buy, linking your course to a price.
Key Kajabi Features to Use
- Products: All your digital offerings (courses, podcasts, communities) live here.
- Offers: The specific pricing and purchase options for your course.
- Customize: Change themes (like Momentum or Premiere) and visual elements.
- Automation: Trigger actions based on the student behavior.
- Community/Live Rooms: Integrated live discussions and interaction.
1. Begin the Course Creation Wizard
- Navigate to Products:From the kajabi dashboard, select out the Products tab, then hit on the Courses.
- Initiate New Product:Click Get Started or + New Course.
- Enter Basic Details:Provided a simple Course Title (aimed on the result/transformation) and a small Description (700 characters max).
2. Generate Content with AI
- Toggle AI Content Assistant:Enable the alternative to “Use this info to generated content and additional resources”.
- Review the Outline:Kajabi’s AI would automatically generated a sample outline with lessons and modules based on the description.
Branding: Select the primary and accent colors and uploaded the Thumbnail Image (1280×720 pixels) to representing the course in the customer’s library.
3. Build and Customize the Curriculum
- Structure with Modules:Use Modules as major categories to group the lessons logically.
- Add Lessons:Within every module, creating Lessons (Kajabi called these “Posts”). You could upload video or audio files, added text, and included downloadable resources like checklists or PDFs.
- Assessments:Incorporate Quizzes to testing student knowledge and increased engagement.
- Customize Themes:Select the theme for the course player—Premiere was famous for its simplicity, while Momentum served the minimalistic sidebar navigation.
4. Set Pricing and Offers
- Create an Offer:Navigate to Sales > Offers to set how customers would pay. Options include:
- Free:Use as the lead magnet to build up the email list.
- One-time Payment:A standard flat fee for the lifetime access.
- Multiple Payments/Subscription:Permit students to pay in via recurring monthly fees or installments.
- Connect Payments:Integrated with Stripe or PayPal to process out transactions straight on the platform.
5. Launch and Manage Access
- Content Release Settings:Select how to release up the content:
- Published:Immediately visible to the students.
- Drip:Released on the set schedule (one module per week).
- Lock:Released only after the particular lesson or assessment was completed.
- Preview and Test:Usage the Preview function to see the course from the student’s outlook and testing all buttons and links before officially the launching.